
We organised a session on Grippers where enthusiastic freshers participated in an overnight hackathon which was preceded by Tutorial for the same in Tinkerers Laboratory,IIT Bombay. Here is a blog post by one such team which participated in the event and successfully completed the Gripper.
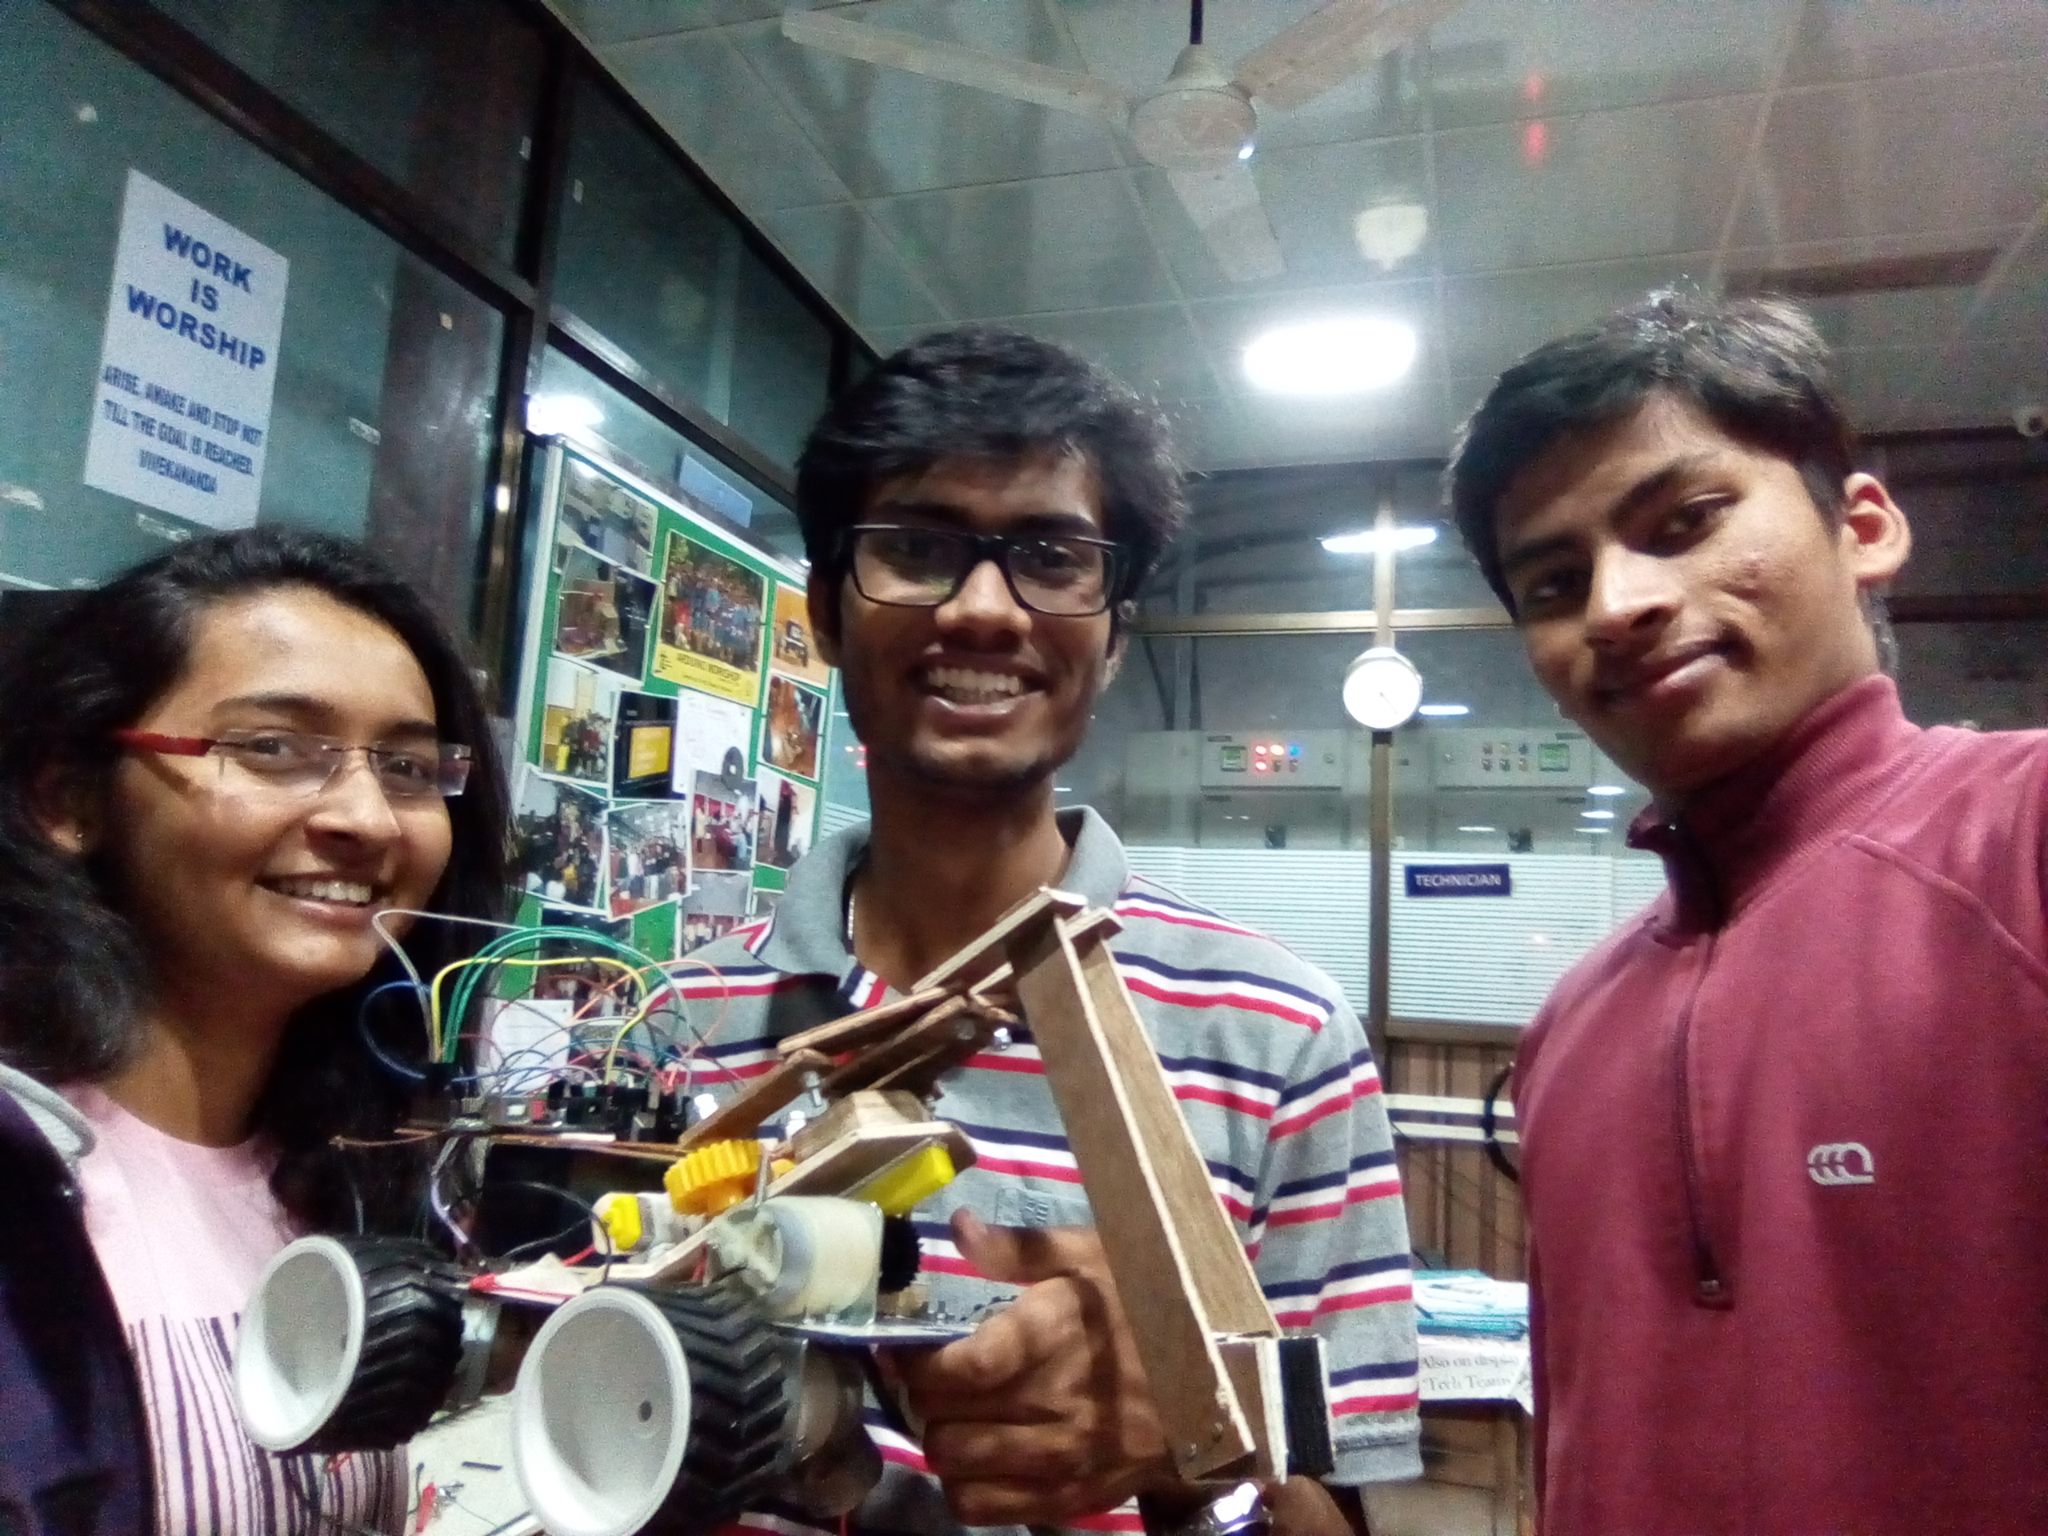
Team HIFI
All at least once we've tried opening up clocks in our house or the batteries of our mobile. Well, to satisfy this techie spirit a gripper bot session was held on 23 November. we had been waiting to get our Xlr8 bots out of our cupboards and and do more with them as our mentors had promised we would. The tech nightout held in tinker's lab started at 9 pm. Mentors were very enthusiastic about explaining the concept of grippers and having attended the get mechanised and get electrified session it wasn't hard to get started.
We first set to the planning of the steps to take. After half an hour of debating we decided on making the gripper attached with gears which were rotated by a worm gear, and to attach this gripper mechanism on a ramp, which could move the gripper up and down, which would be on our xlr8 bots. the movement of the gripper, ramp and the bot itself was to be controlled by giving commands from a laptop to an arduino.
Starting the work on the gripper we first thought of attaching a 10 rpm motor to the worm gear, but that gave us an angular velocity of 1 rotation per 2.4 minutes with the gripper. so we switched to a 150 rpm motor. Next we had to decide the shape of the gripper arm setup and attach it to the spur gears.
Based on a youtube video we chose to have 4 wooden planks in each arm with a setup such that the forward most arm is always pointing in the forward direction. Then to attach the arms to gears we drilled holes in the arms and fitted them to the gears with 5 mm screws, which stayed together by friction.
To fix the worm gear on the motor was a major task, as we had to use a pointed screw to avoid the relative motion of the shaft of motor with gear, but even after that the gear didn't rotate along an axis parallel to the shaft. due to this the spur gears experienced an upward force and bounced out of the screws of which they were attached. we relied once again on friction to resolve this issue and thickened the screws by covering them with tape.
Now having almost completed the gripper we set to work on the ramp. It's called a ramp here because it moved like one. We fitted a rack on it's lower side and a 10 rpm on surface of the bot to move the ramp.In this way the ramp moved forward when it moved up and back when it moved down. To keep it guided along a straight path we attached two small rods on either side of the ramp to support its motion.
After finishing the mechanical aspect of the project it was time to bring the gripper to life and attach the arduino. Choosing to stick as close to the Xlr8 setup as possible we kept the circuit for motion of the bot intact and built another like it for the ramp and the gripper. here the motors were attached to L293D and it to the arduino via an 7806.
In the code of the arduino were 8 commands, forward, back, right and left to control the bot, up and down to control the ramp and open and close to control the gripper. the working principle was simply pin high and pin low, of the motors.
Our next move would now be to sort out the few things still out of shape. We have thought of trying to attach the worm gear to the motor by glue as then it might align parallel to it. Also by installing a bluetooth module in the circuit the bot will no longer be needed to be wired.
Overall, spending 4 days and 5 nights in TL, putting the post Endsem lukkha to tech were worth it. the best part was seeing the bot actually work.
We would like to thank our mentors and technicians of TL for helping us through it.
Cheers!