I was just into my freshman year, and just as everyone else, robotics felt like the cool thing to do. So I decided to participate in the International Robotics Challenge, a premium inter-college competition, with support from Innovation Cell, IIT-B. Here’s a post that covers the journey. Get yourself some food to hog on, ‘cause this one’s gonna be a long one!

The Problem Statement
Every journey in competitive robotics starts with a well-defined PS, which helps a participant decide his strategy and plan the timeline. A good competition has surprise elements, and taking care of such elements is a daunting task that requires foresight. You can find the PS to IRC 2015 here. As a tip, the first task of any team should be read the PS thoroughly, and try to find out loopholes. The more you exploit, the better.
The Task at Hand:
After having understood the PS, we would have to approach the problem by breaking it down to simpler ones(analytical approach)! Here’s what we’d have to do:
-
Algorithm Development for Grid Following and Solving.
-
Construct code and simulate runs, to analyse accuracy and computation time.
-
Simultaneously, choose the correct physical components that would have to be used. Motors, motor drivers, MCU, sensors, communication modules… The list is endless!
-
Make a prototype of the body, for testing and calibration.
-
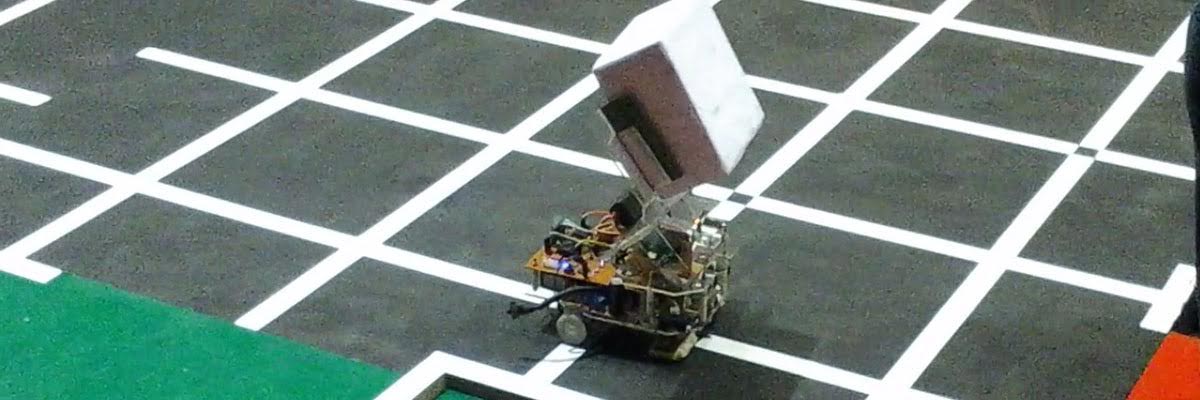
Make a CAD model of the bot, with best-suited design, optimizing minimal weight, low CoG(to climb the ramp, refer PS) and strong gripper arm. Also, the best-suited gripper would have to be chosen.
-
Procure parts for the manual and autonomous bot and build.
-
Perform trial runs and final optimizations.
And all this, leaving room for last moment modifications, if required. Sounds interesting, doesn’t it? :p
And Then We Begin!
A team of 5, we decided to split into 2 sub-groups. One taking care of algorithms(software) and other into investigating various choices for the components mentioned. Let’s take a look at all the relevant steps one at a time.
- Algorithms: One very important thing that you must have understood from the PS, is that you must have a line-following bot first. (And that you may walk over nodes in the dry run, but that comes later.)
- For the basic LF-bot, we implemented a 3-sensor array in the front and used the PID algorithm to stabilise it on straight roads. For the turns etc, instead of complicating matters by increasing sensors, we decided to hard-code the length of each block (as unit length) and calibrate, so that the bot can only move in discrete steps. Fair enough!
- Now comes the main part. The grid recognition, and solving. The first step of recognition would be better explained in the next section, and thus we jump to solving. Let’s assume that we are given a grid, say 4x4, and some of the nodes are restricted. We must solve the grid, and procure a path from Source to Destination via the allowed nodes. Various algorithms exist for the same, the most relevant of which are the Djikstra, Breadth-First Search and the Depth-First Search algos. Since minimisation was not an issue, and BFS sounded cooler :p, we chose to go ahead with BFS. Here’s a simple illustration video I made to explain the situation. Click on the picture below to view it!
 For a more detailed and completed explanation, check out the videos here.
 - Obstacle detection was also a task, but was achieved rather easily, by using simple response mechanism, that calls the gripper when an obstacle is detected. The bot is hard-coded to drop it at the preset location.
- The last step, and the easiest one of the section, was to translate the output of above program (node values) to directions, and actuate them.
-
Components: Here’s the tricky part. From an infinite number of permutations in specifications, we had to choose the best for us. And boy(girl), was that easy!
- MCU - The familiarity with Arduino, and the simplicity induced by its libraries led it to being our choice for the puposes. We needed more pin than what the Arduino Uno offered, but the shield availabilities resulted in us using two Uno boards, one controlling the PID and motion, and the other controlling the gripper and obstacle detection. The manual bot needed no MCU and was controlled simply by a combination of DPDTs and SPDTs.
- Motors- The wheels underneath would have to be standard DC motors, and as small as possible, to minimize the clearance, and give better operation for the photo-sensors. The challenging part was the gripper. What is servo? What is a stepper? And which one would be relevant? You should check the following files before deciding. We eventually chose Stepper Motors with 2 Kg-cm torque for our purpose. Note: Choosing the specification is very important, and I reckon you work your math out well!
- Motor Drivers- For the autonomous bot, we used the L293D Motor Driver. There are drivers available for the steppers, but we decided to drive them directly using the Arduino, and its Stepper Library. Note that for convenience, we used the Adafruit Motor Shield in both the applications.

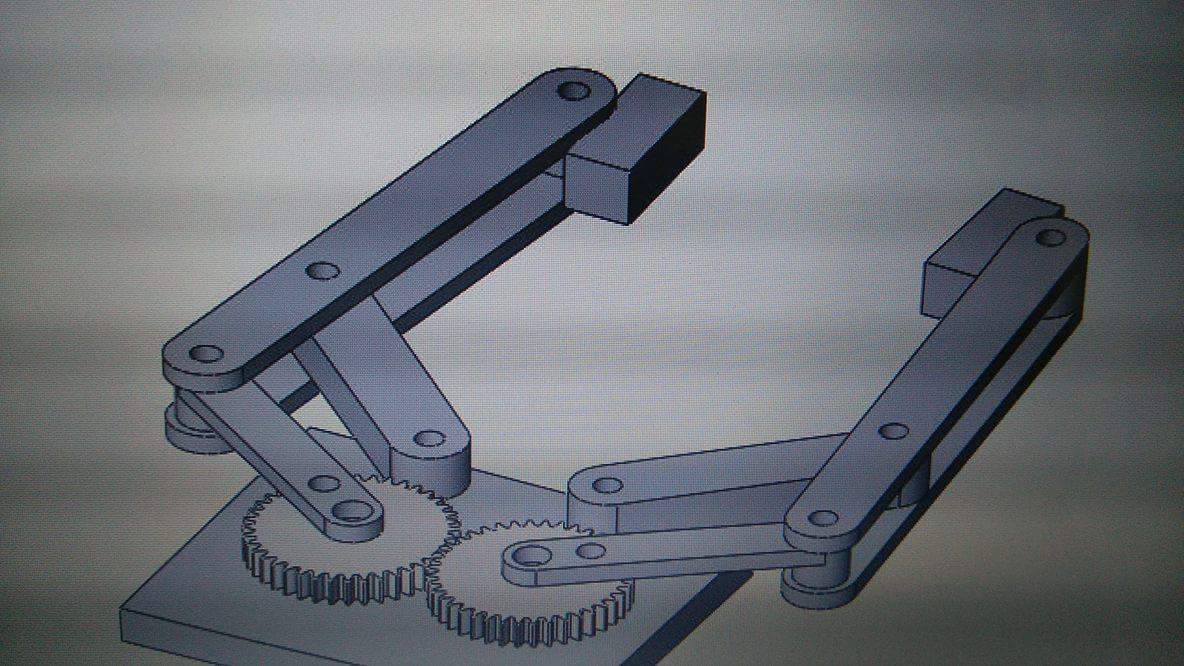
- The Gripper- There are many kinds of grippers and each serve a different kind of purpose and are driven differently. You can have a peek here. Some rounds of discussion, a couple of nightouts and several simulations later, we agreed on this design.

- Prototype: We built a simple prototype bot with a plain acrylic chassis, 2 wheels and a castor. It seemed to fare well on LF jobs and taking sharp turns. You can check out a trial run here.
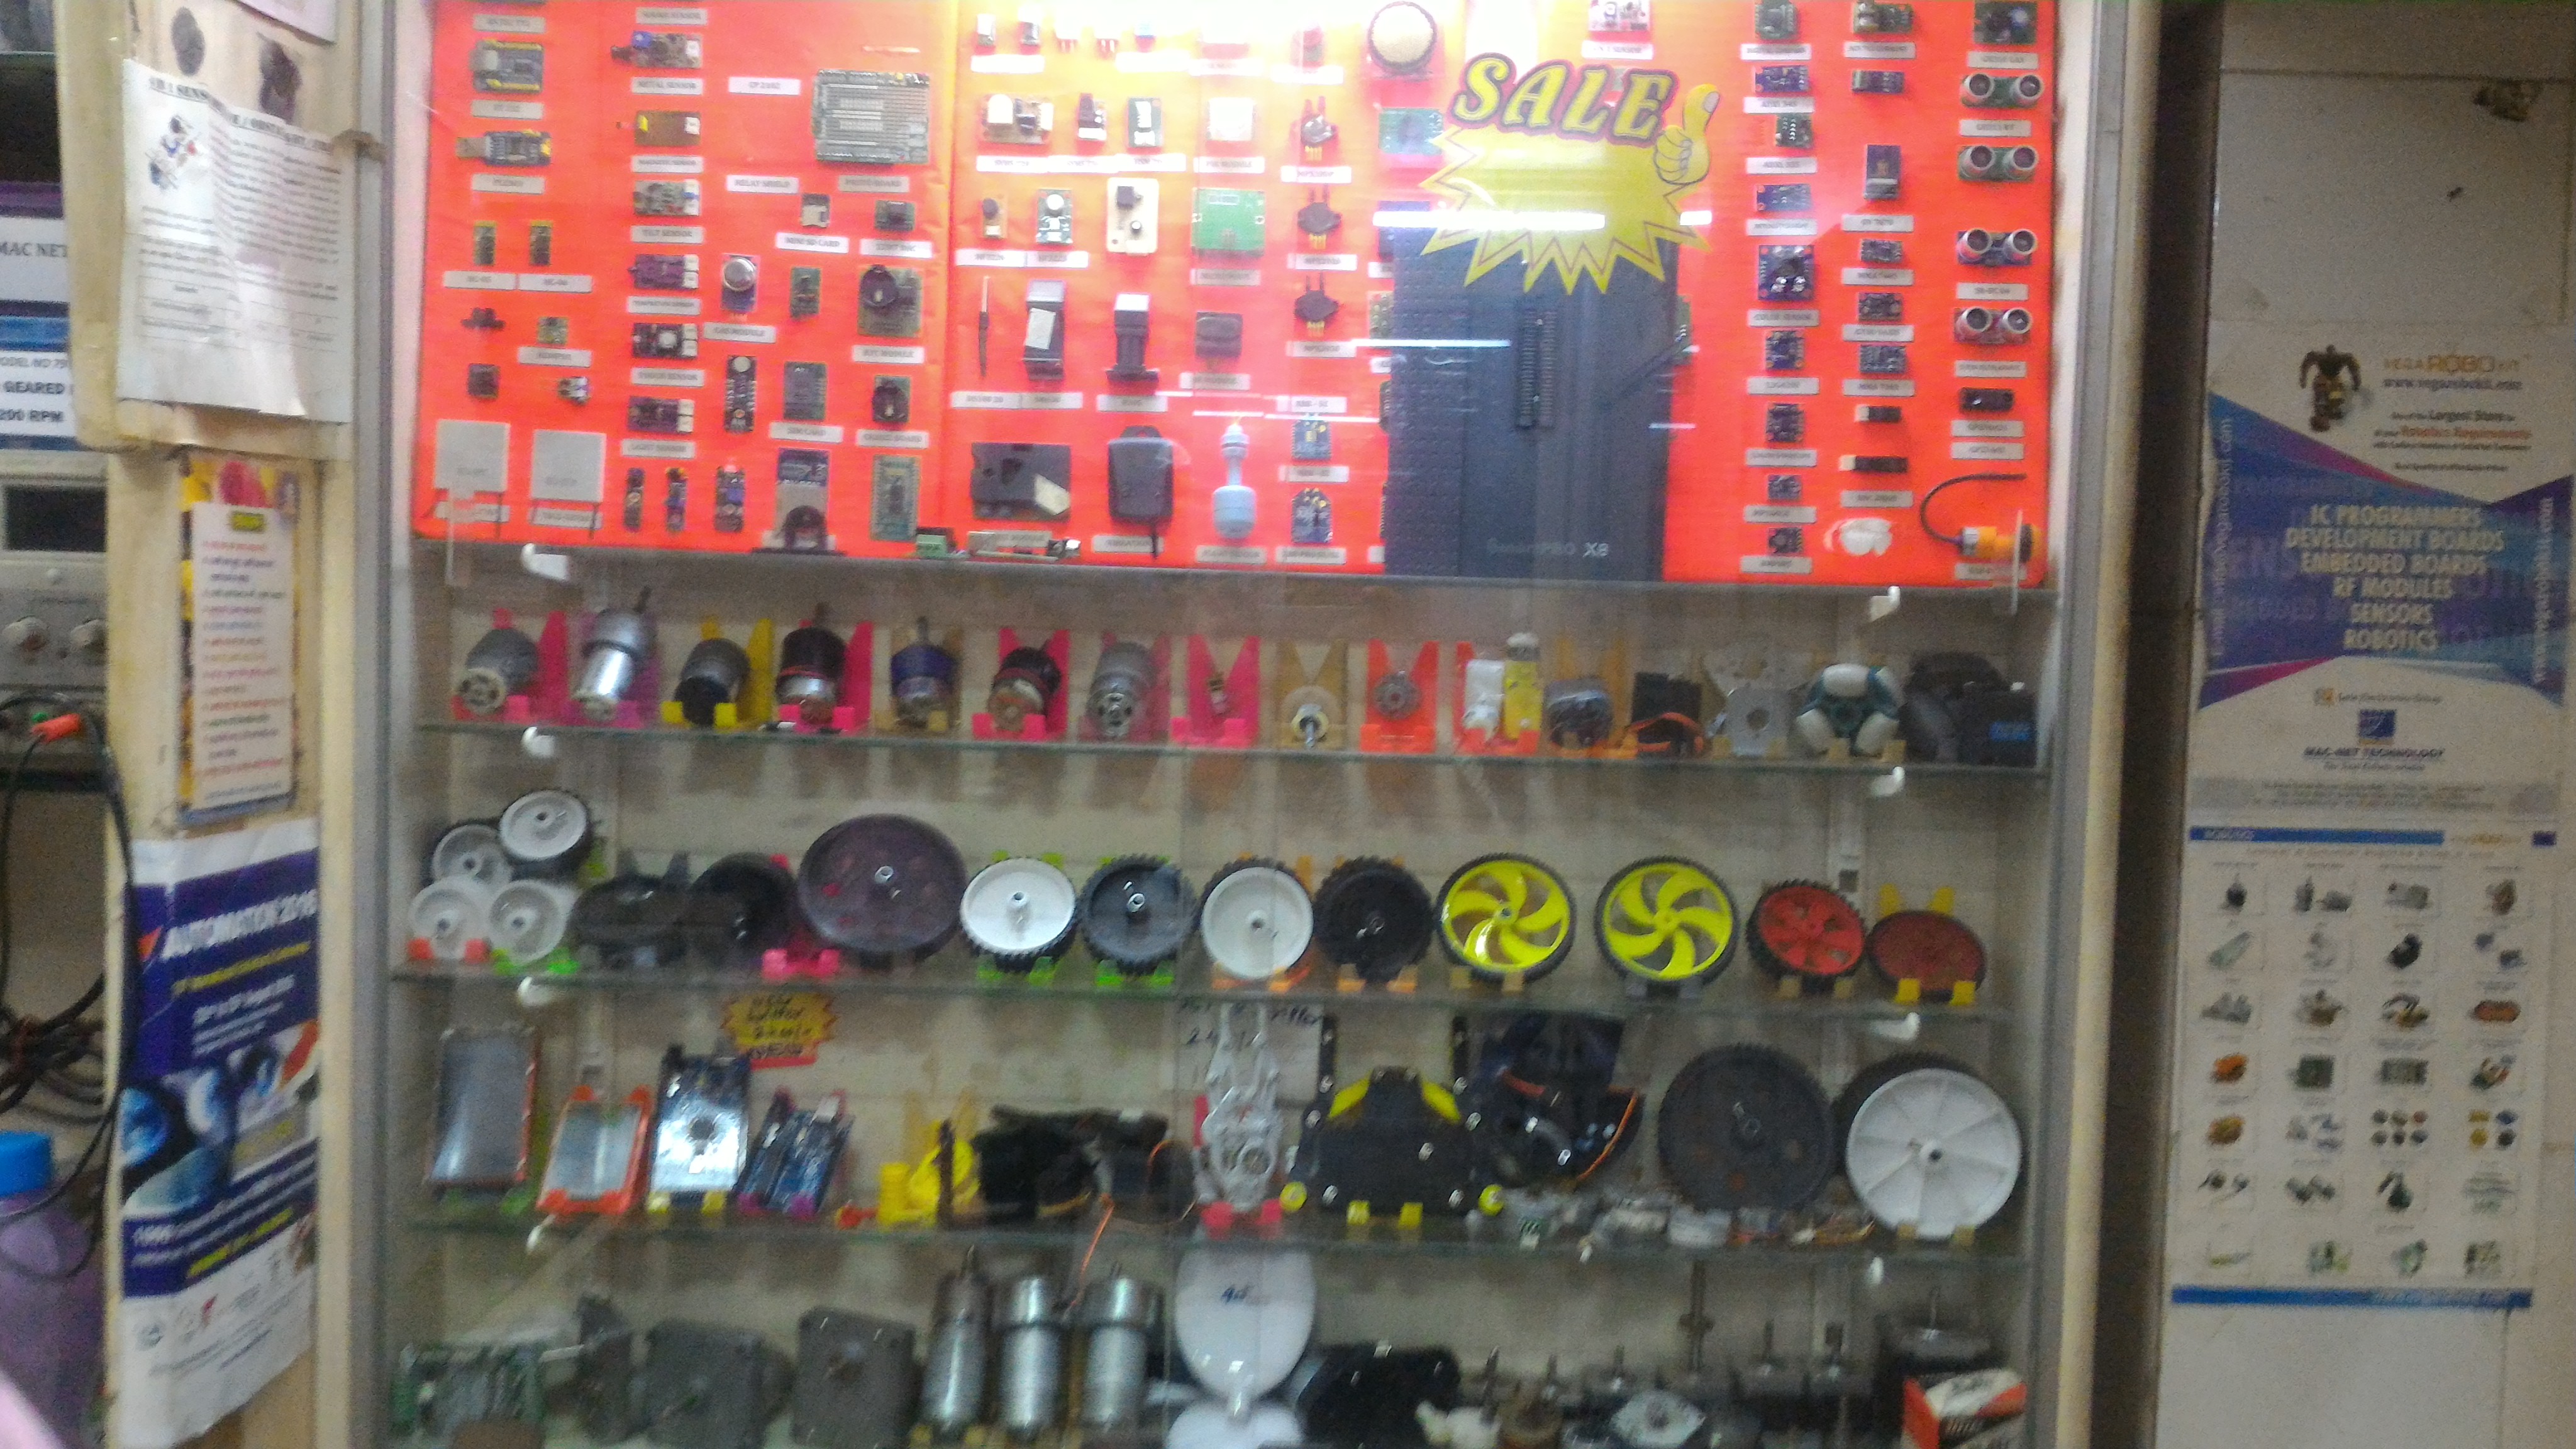
- Off to Lamington: Time to shop for parts, and off we go to Lamington Road! Dozens of shops, and the variety - it’s sure to freak you out! We all love choices, but who would’ve prepared well enough to face THIS!
 . Three trips to this place, and savoring the treats at Mamaji Sandwich and Merwan Bakery (get in touch for more details!) We also got our parts fabricated from a shop nearby. All set for writing the final chapter. Making the final bot!
 - All was done, and then came calibration. Weeks and weeks of it, and as was said - it certainly takes a lot of time and effort. The Pareto principle strikes - 80% of the job takes 20% of the time and 20% of the job takes 80% of the time! We did end up optimizing the bot very well! ;)
The Competition
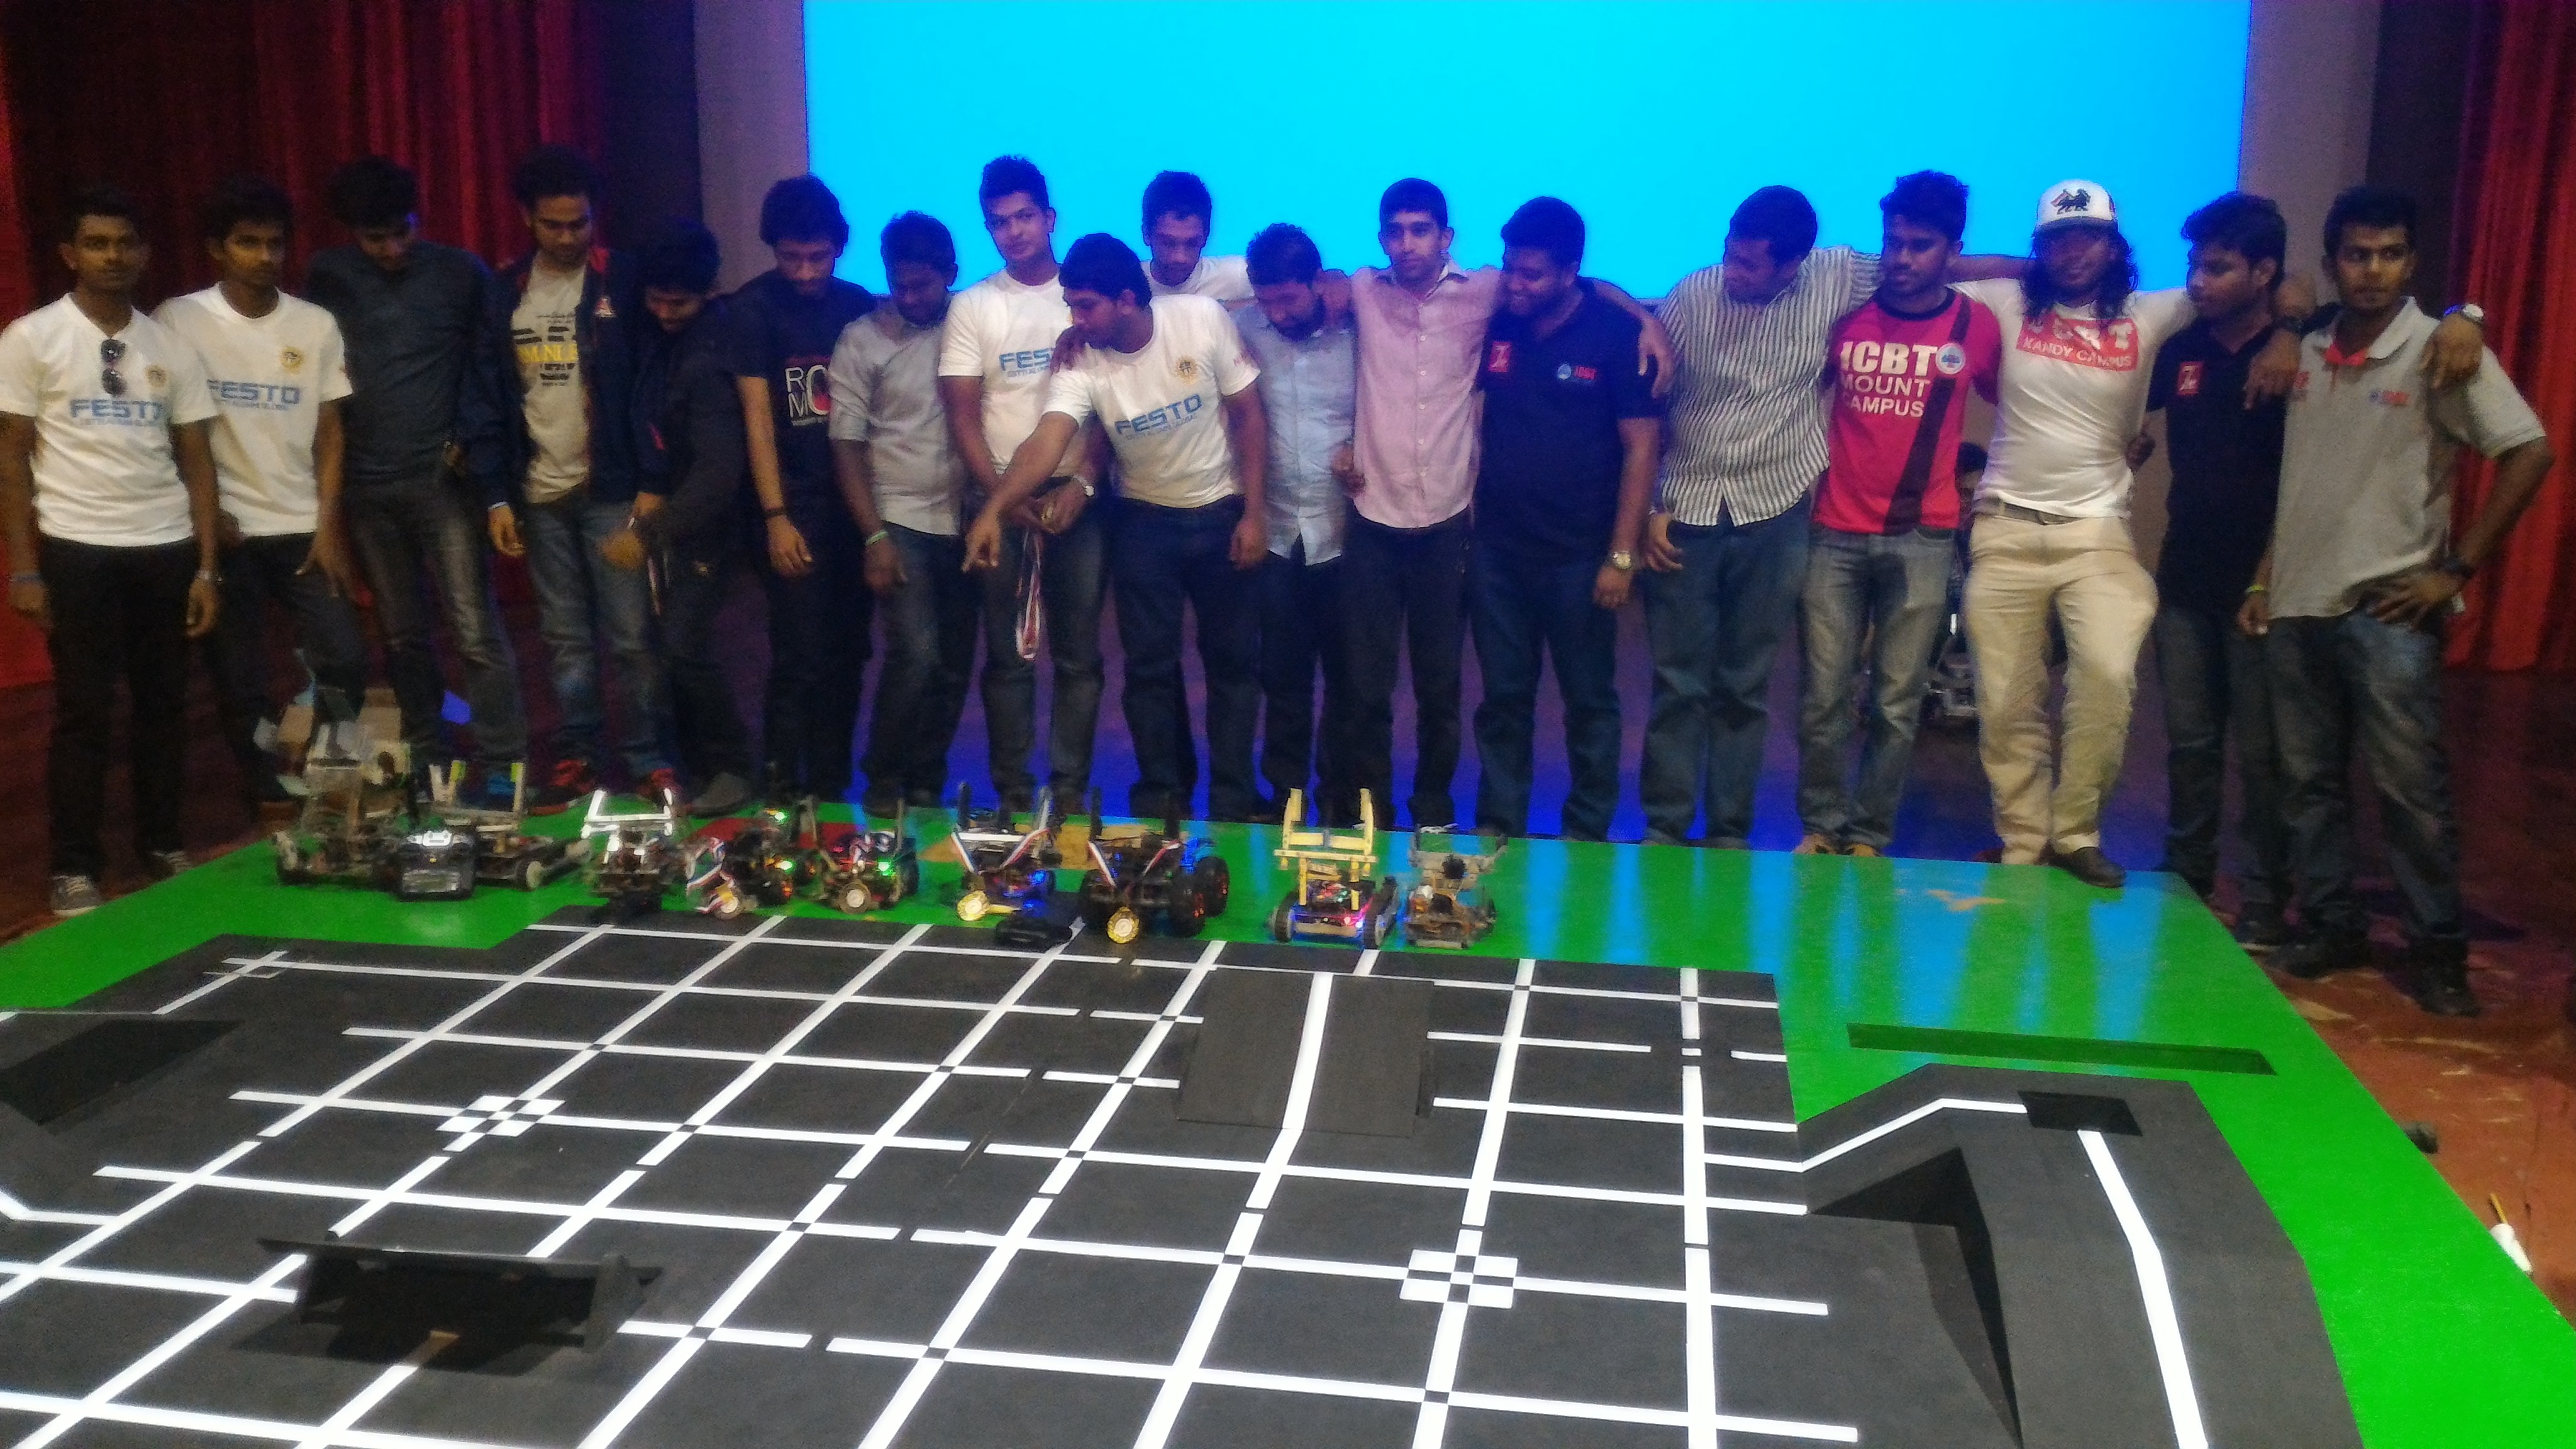
It was D-day, 26th of December, and we were all set for the competition. Teams from around the world! We turned out to be the youngest team, and maybe the least experienced as well - the first it was! 
A big thank you for all of you who read till the end! Wish you all the best for your endeavours! Robotics sure can be fun, testing multiple skills at once, and hence a true insight into symbiotic engineering! Feel free to ping me should you need any assistance!
Cheers!
